


How To Set Different Dns For Mac
How to install Mac OS X El Capitan. In this version, Apple built upon the graphical changes brought upon in Mac OS X Yosemite and focused on the areas on user experience and performance. This version of Mac also came with the new Metal Graphics technology which made activities like launching apps significantly faster than before. After going through all the technical specifications and amazing quality learning about Mac, it is time to try it by yourself. 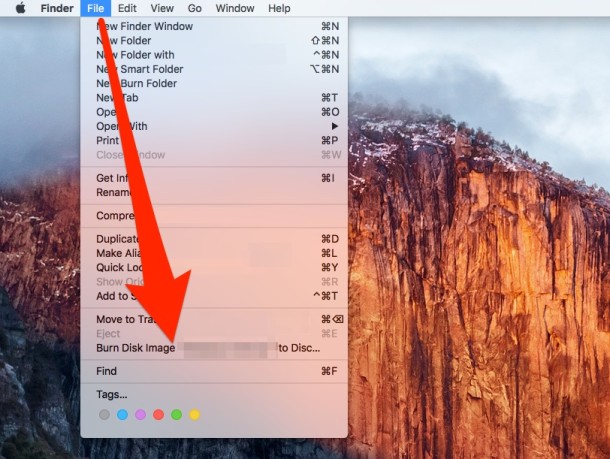
DNS servers, or Domain Name System servers, essentially allow you to browse the Internet in a user friendly manner. They provide your computer with the capability to recognize the web addresses you type in and connect to their places on the web. With Internet service, your computer automatically gets assigned a DNS server to use. Most users don’t ever have to think about DNS servers or changing them. Still, there are potential benefits to swapping out your assigned server for a new one,.
Call of Duty® delivers the gritty realism and cinematic intensity of World War II's epic battlefield moments like never before - through the eyes of citizen soldiers and unsung heroes from an alliance of countries who together helped shape the course of modern history. Call of Duty: Black Ops for the Mac takes players to conflicts across the globe as elite Black Ops forces fight in the deniable operations and secret wars that occurred under the veil of the Cold War. Call of duty for mac free.
Namely, with the speed and reliability of your Internet connection particularly in a web browser, you might want to change things up. You can use any DNS server, but the most popular ones come from Google and OpenDNS. Here is how to edit your DNS servers on a Mac. How to Change Your Mac’s DNS Servers Open System Preferences on your Mac. Then choose the Network category.
Make sure you’re connected to Wi-Fi and you have the Wi-Fi tab on the left selected. Then toward the bottom right, click Advanced In the upper navigation here, click the DNS tab. You should see your current DNS servers on the left. Unless you added these yourself, you’re not able to edit them.
However, clicking the + button underneath will let you start anew, so do that to begin adding your own DNS servers. (You might want to also write down the current IP-assigned DNS servers should you ever want to switch back to them.) If you’re unsure which DNS server IP addresses to use, try out Google’s or OpenDNS first. Google’s are 8.8.8.8 and 8.8.4.4. OpenDNS servers are 208.67.222.222 and 208.67.220.220.
Demo Applets and Applications (In the demo/ subdirectory) Examples, with source code, of programming for the Javaplatform. Runtime Environment (In the jre/ subdirectory) An implementation of the Java Runtime Environment (JRE) for use by the JDK. Download jdk for mac. The JRE includes a Java Virtual Machine (JVM), class libraries, and other files that support the execution of programs written in the Java programming language. Additional Libraries (In the lib/ subdirectory) Additional class libraries and support files required by the development tools.
Change Dns On Mac
Enter these separately. If you don’t want to use those, Lifewire has a of additional free and public DNS servers anyone can try out for themselves. Of course, if you have your own IP address in mind, you can use that as well. Note that macOS will prioritize connecting to DNS servers based on whichever is at the top of the list. Entering in five different IP addresses is fine for backups, but won’t matter if your Mac can connect to the first one successfully. When you’re all done here, click OK on the bottom right. Then lastly, click Apply back on the Network pane to save your changes.

You’re all set. Open a web browser, type in a domain name and see if you notice any improvement. At the very least, you’ll still have a stable Internet connection with new DNS backups for any future hiccups.
The program installs quickly and easily. Adware is a common issue with this kind of tool, but there were no problems, and Smart DNS Changer was running within a few seconds. A straightforward tabbed interface opens at the DNS Changer. This lists several common DNS servers -- Comodo, Google, Norton, Norton ConnectSafe, OpenDNS, Yandex, both filtered and non-filtered -- along with a default Automatic option, and you can change your current settings in a couple of clicks. There are also boxes to enter DNS addresses manually, and buttons to open the Windows Network Connections window and Network Diagnostics applet. Most of the competition stops there, but Smart DNS Changer goes a little further. A Kid Shield tab allows you to select different DNS servers for each user on a computer, and these will automatically be applied whenever they log on.
You could use this to set a filtered DNS for your children, blocking non-family-friendly sites, while you’re able to browse the web as normal. A third tab provides a MAC address changer. If your internet connection is blocked because of your MAC address, choose the appropriate network adapter here and manually enter a new one (or click 'Random MAC Address' to have one set automatically). There’s also a 'Proxy Changer' tab, but this is by far the weakest section. There are no built-in lists of proxies, just a link to web page: you must follow that, find something suitable, then copy and paste it back into the Smart DNS Changer 'Proxy' box. It works, but it’s not exactly convenient.